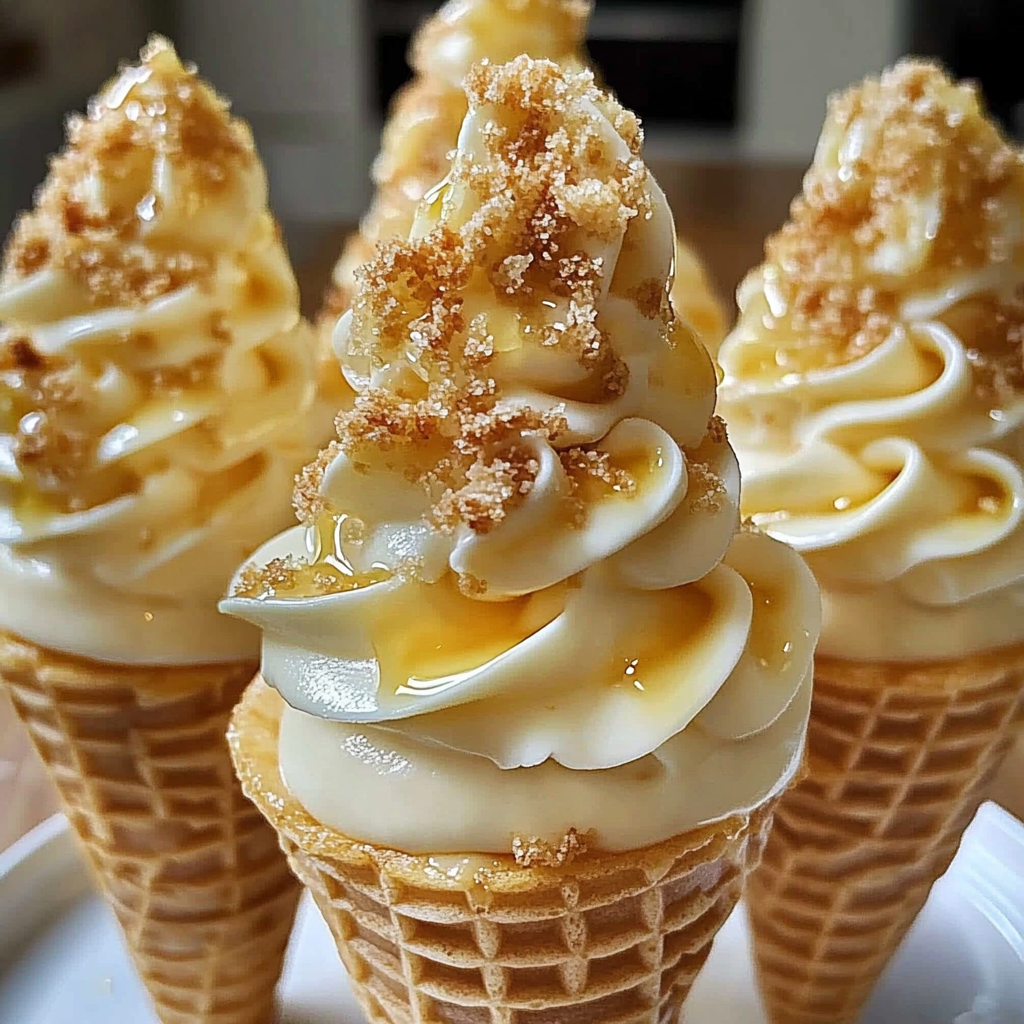
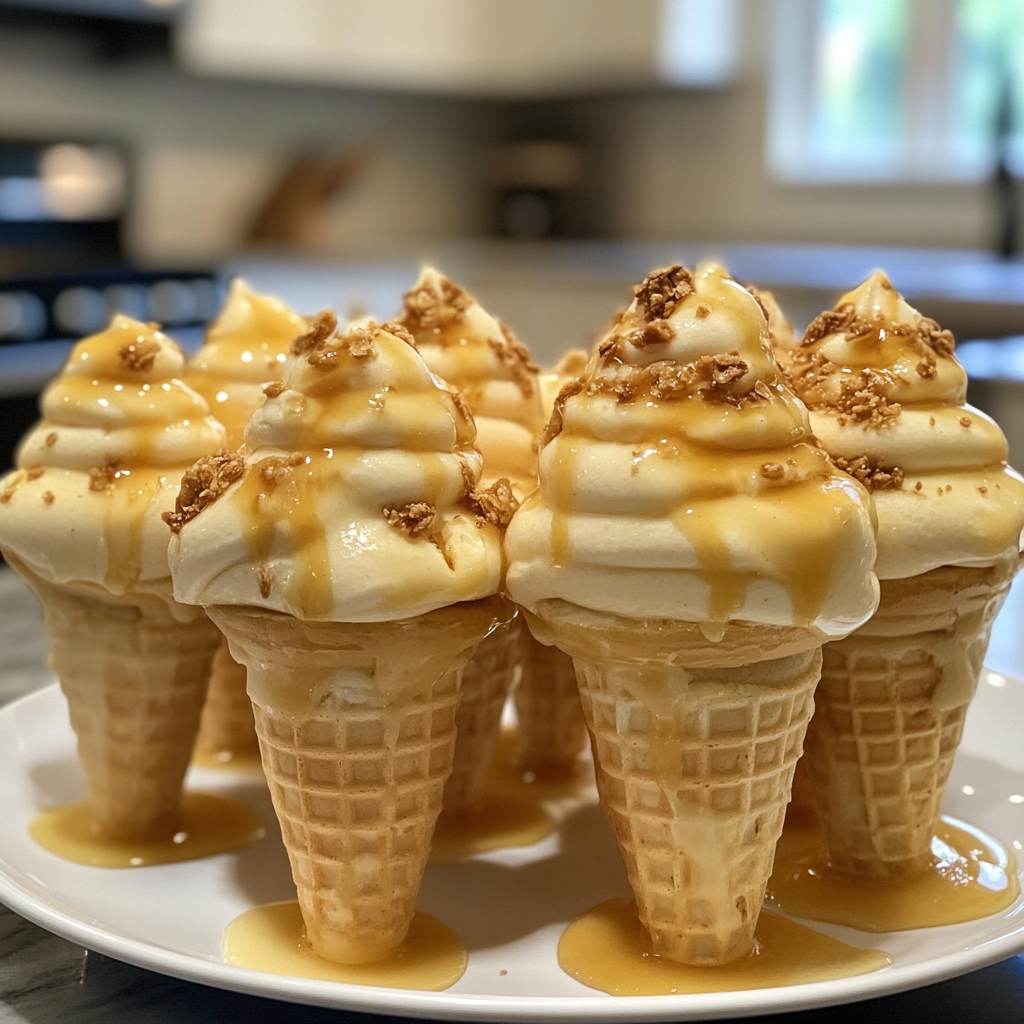
There’s something undeniably delightful about Banana Pudding Cheesecake Cones. Imagine creamy cheesecake mingling with the sweet, nostalgic flavors of banana pudding, all tucked into a crunchy cone. decadent strawberry truffles The first bite hits your taste buds like a dance party in your mouth, and trust me, no one leaves this party without asking for seconds.

I remember the first time I whipped these up for a summer barbecue. My friends devoured them faster than I could assemble them, and I felt like a culinary rock star. These cones are perfect for potlucks, picnics, or just when you need to treat yourself after a long day.
Why You'll Love This Recipe
- This Banana Pudding Cheesecake Cone recipe is simple enough for beginners yet impressive enough to wow your guests
- The combination of flavors creates a dessert that feels indulgent without being overly complicated
- Plus, these cones look adorable and are easy to serve at any gathering
- They’re also versatile; feel free to add different toppings based on your taste!
I once brought these cones to a family gathering, and my niece declared them “the best thing ever.” What can I say? Kids know their desserts!
Essential Ingredients
Here’s what you’ll need to make this delicious dish:
-
Waffle Cones: Choose sturdy cones that won’t crumble under the weight of the filling. Vanilla-flavored ones work especially well.
-
Cream Cheese: Softened cream cheese is key for a smooth filling; it gives the cheesecake its rich texture.
-
Powdered Sugar: This sweetener blends better than granulated sugar and helps achieve that desired creamy consistency.
-
Vanilla Extract: A splash of pure vanilla adds depth and enhances all the flavors in the mixture.
-
Bananas: Use ripe bananas for maximum sweetness and flavor; they also provide that classic banana pudding taste.
-
Whipped Topping: Use store-bought or homemade whipped cream to lighten up the cheesecake filling.
For an added touch:
-
Vanilla Pudding Mix: This thickens the filling and amplifies that beloved banana pudding flavor.
-
Cinnamon (optional): A sprinkle of cinnamon can elevate your dessert, adding warmth and complexity to each bite.
The full ingredients list, including measurements, is provided in the recipe card directly below. For more inspiration, check out this shrimp and broccoli pasta recipe.
Let’s Make it Together
Prep Your Ingredients: Start by gathering all your ingredients on a clean countertop. This step saves time and keeps you organized as you mix everything together.
Mix the Cream Cheese Filling: In a mixing bowl, blend softened cream cheese with powdered sugar until creamy and smooth. Add vanilla extract next and mix until fully incorporated.
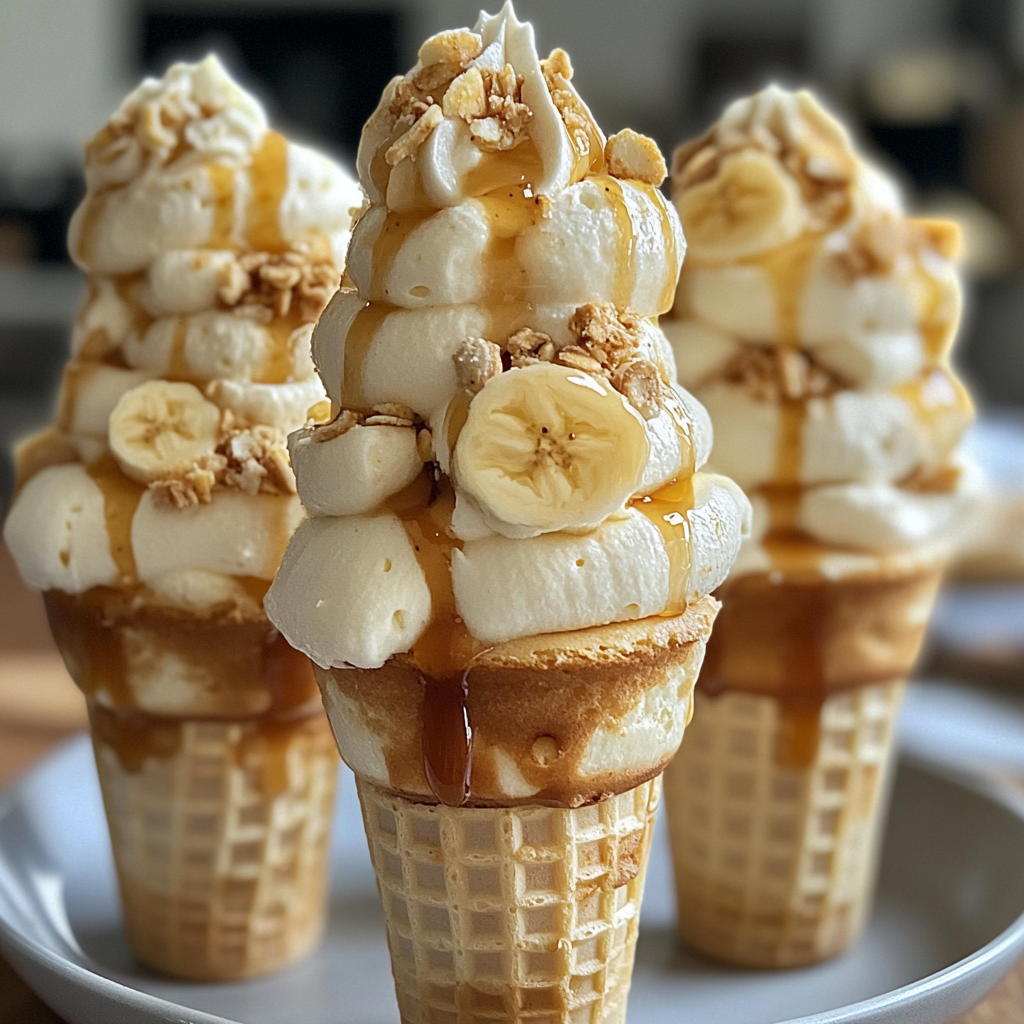
Add Bananas and Whipped Cream: Fold in sliced bananas gently with whipped topping to maintain its airy texture. You want lightness here; think fluffy clouds rather than dense bricks.
Spoon into Waffle Cones: Carefully spoon your cheesecake mixture into each waffle cone, packing it down slightly but not too tightly. Leave some space at the top for extra toppings.
Add Toppings (if desired): Top each cone with additional whipped cream, banana slices, or even crushed cookies for crunch. Get creative—this is where you can really personalize each cone! For more inspiration, check out this banana bread cookies recipe recipe.
Chill Before Serving: Place filled cones upright in a container in your fridge for at least 30 minutes before serving. This allows everything to set beautifully so they won’t fall apart when you take a bite.
Enjoying Banana Pudding Cheesecake Cones brings joy not just from eating them but from creating them too! You’ll find they’re gone before you know it—and likely followed by requests for more! no bake cookie dough cheesecake.
You Must Know
- This delightful banana pudding cheesecake cones are not just tasty; they also bring a fun twist to dessert
- With the right balance of creaminess and crunch, these cones will impress everyone at your next gathering!
- Perfect for kids and adults alike, they are sure to be a hit
Perfecting the Cooking Process
To create the perfect banana pudding cheesecake cones, start by making the cheesecake filling first. This allows it to chill while you prepare the cones, ensuring a creamy texture.
Add Your Touch
Feel free to swap out bananas for other fruits like strawberries or peaches for a unique flavor. chocolate marble banana bread Adding a drizzle of chocolate sauce can elevate your cones even further!
Storing & Reheating
Store leftover cheesecake filling in an airtight container in the fridge for up to three days. Avoid filling the cones until ready to serve to maintain crispness.
Chef's Helpful Tips
- These banana pudding cheesecake cones shine with fresh ingredients and clever techniques
- Be careful not to overmix the cheesecake filling; this keeps it light and fluffy
- Consider using mini cones for bite-sized treats that are easy to share at parties
Creating banana pudding cheesecake cones always reminds me of summer barbecues with family. soft and sweet vanilla dessert The laughter and joy around our dessert table made every cone taste even sweeter!
FAQ
What can I substitute for cream cheese in banana pudding cheesecake cones?
You can use mascarpone cheese or Greek yogurt as alternatives for cream cheese.
How long do banana pudding cheesecake cones last?
Unfilled cones can last up to three days in an airtight container; filled ones should be eaten immediately.
Can I freeze banana pudding cheesecake cones?
Freezing is not recommended as it affects texture; however, you can freeze the filling separately.

Banana Pudding Cheesecake Cones
- Total Time: 0 hours
- Yield: Serves 4
Description
Indulge in the delightful fusion of creamy cheesecake and nostalgic banana pudding, all served in a crunchy waffle cone. These Banana Pudding Cheesecake Cones are perfect for any occasion, from summer barbecues to cozy family gatherings. Each bite offers a burst of sweetness that will leave everyone coming back for more!
Ingredients
- 4 waffle cones
- 8 oz cream cheese, softened
- 1 cup powdered sugar
- 1 tsp vanilla extract
- 2 ripe bananas, sliced
- 1 cup whipped topping
- 1.5 oz vanilla pudding mix (optional)
- ¼ tsp cinnamon (for added flavor, optional)
Instructions
- Gather all ingredients on a clean countertop for easy access.
- In a mixing bowl, blend softened cream cheese and powdered sugar until smooth. Stir in vanilla extract.
- Gently fold in sliced bananas and whipped topping until well combined.
- Carefully spoon the cheesecake mixture into each waffle cone, packing it lightly to avoid overflow.
- Add toppings if desired, such as extra whipped cream or crushed cookies.
- Chill the filled cones upright in the refrigerator for at least 30 minutes before serving.
- Prep Time: 15 minutes
- Cook Time: N/A
- Category: Dessert
- Method: No cook
- Cuisine: American
Nutrition
- Serving Size: 1 cone (95g)
- Calories: 290
- Sugar: 22g
- Sodium: 160mg
- Fat: 14g
- Saturated Fat: 8g
- Unsaturated Fat: 4g
- Trans Fat: 0g
- Carbohydrates: 36g
- Fiber: 1g
- Protein: 3g
- Cholesterol: 40mg